Why Go Headless?
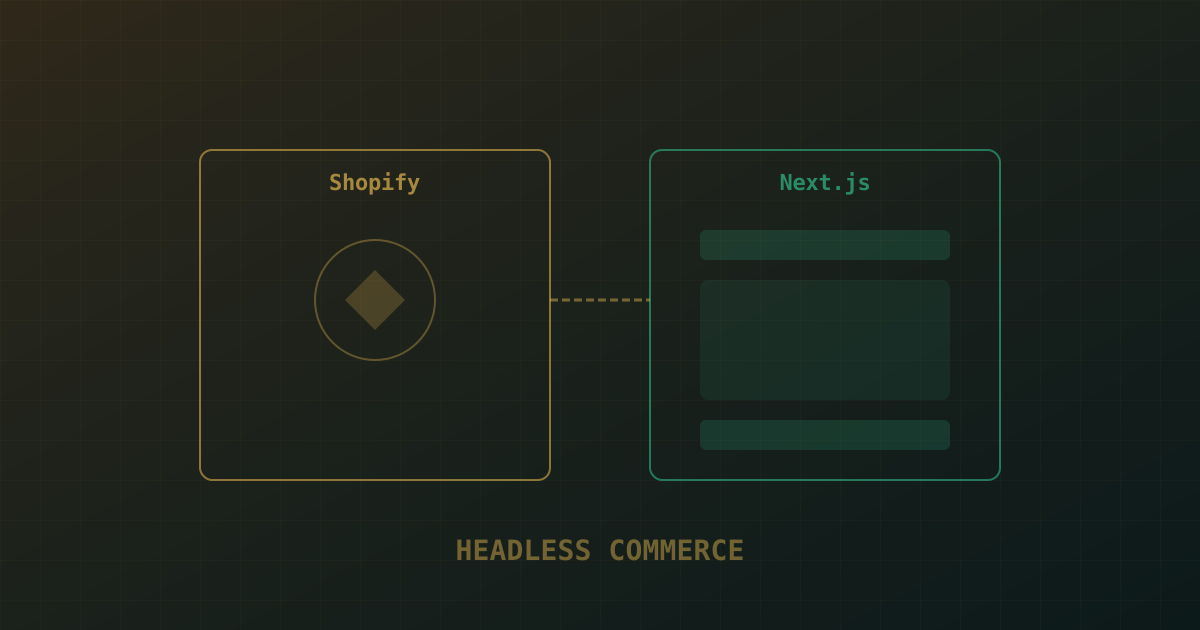
Shopify's hosted storefront is excellent for most merchants. But when you need sub-100ms page loads, fully custom UX that liquid templates can't express, or deep integration with a design system or mobile app — headless is the answer. The performance ceiling of a headless store built with Next.js is significantly higher than anything achievable in Shopify's hosted environment. This is the kind of build our Shopify development team ships for e-commerce clients pushing past the limits of themes.
The trade-off is real: headless adds development and maintenance overhead. You own the frontend entirely. Shopify's Checkout (which you still use) is the one area you don't control, which creates seams in the experience that require careful design attention.
Architecture Overview
The stack: Next.js 16 App Router as the frontend framework, Shopify Storefront API (GraphQL) for product data and cart management, Shopify Checkout for payment, and Vercel for deployment. Product data is fetched server-side and cached via Next.js's built-in fetch caching. Cart state lives in a cookie-backed server action.
Shopify Storefront API Setup
Create a Storefront API access token from Shopify Admin → Apps → Develop Apps → Storefront API. You'll need the unauthenticated_read_* scopes for public browsing and the unauthenticated_write_* scopes for cart operations. Store the token in an environment variable — it's safe to expose in client-side code since it's read-only for public storefront data.
Type-Safe GraphQL Queries
Use @shopify/api-codegen-preset to generate TypeScript types from your GraphQL queries. This eliminates an entire class of runtime errors where the API schema changes and your type assumptions break. The codegen runs at build time and outputs typed query functions you can call directly.
import { getProduct } from '@/lib/shopify/queries'

export default async function ProductPage({
  params,
}: {
  params: Promise<{ handle: string }>
}) {
  const { handle } = await params
  const product = await getProduct(handle)
  if (!product) notFound()
  return <ProductDetail product={product} />
}
Cart Implementation
The cart is the most complex part of a headless Shopify implementation. Shopify's cart lives server-side as a Storefront API cart object. Your frontend manages a cart ID in a cookie and makes API calls to add/remove/update line items. Server Actions in Next.js 16 are the cleanest way to implement this — form submissions trigger server-side cart mutations without needing a custom API route.
Checkout Flow
Shopify Checkout is an external redirect. When the customer is ready to pay, you redirect to a Shopify-hosted checkout URL derived from the cart object. This means you can't fully customize the checkout UI — but it also means you get Shopify's battle-tested payment processing, fraud detection, and PCI compliance for free.
Design the transition deliberately. A smooth handoff from your custom UI to Shopify Checkout requires consistent typography, color, and brand treatment. Shopify's Checkout Branding API (available on Shopify Plus) lets you customize fonts, colors, and logo — use it.
Product pages should be statically generated at build time with generateStaticParams. Use Next.js revalidate to regenerate pages when products change. Images served through Shopify's CDN should use next/image with the Shopify domain added to your allowed images config. Enabling Shopify's image transformation API lets you serve correctly-sized WebP images for every viewport.
When NOT to Go Headless
Headless adds meaningful engineering overhead. For stores under $1M GMR, a well-configured Shopify theme (especially Dawn with performance optimizations) will typically outperform headless on development cost and time-to-market. Go headless when your performance requirements, design ambitions, or integration needs are beyond what Shopify's hosted storefront can deliver — not as a default architectural choice. Our broader e-commerce development practice helps merchants make this call before committing engineering budget.